Managing a Position for an Area
Positions are a very flexible way to setup your listings to be filled via different criteria (currently in development). You may, for example, wish to setup your positions to be very generic with a position for Assembly and Machining. Or, for more technical areas, you may want to make sure an employee is qualified on a certain machine and may setup positions based on their qualifications and experience. Positions are flexible and allow for lots of options when it comes to getting your listings scheduled and who may do so.
Create A Position
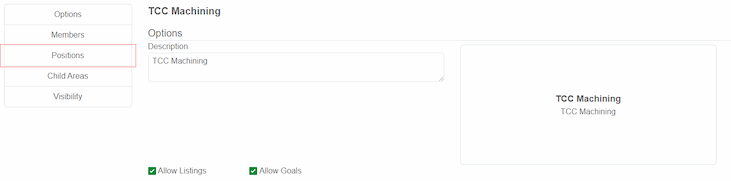
To create a position, navigate to the main page of the application, click manage, areas, select your plant and select your area. You will be taken to the area management page. Select the Positions item in the left navigation menu.
You will be taken to the positions management area. Click Add Position and a menu will display.
| Field | Use | Notes |
|---|---|---|
| Position Name | Display name for position | NA |
| Position Rules | Rules that must be filled in order for a listing with this position to be booked | rules for positions are currently in development |
Click the “Save” button and the position will be created.
Delete A Position
To Delete a position, click the remove icon and confirm you want to delete the position. The position will then be deleted.