Assign a user to an area
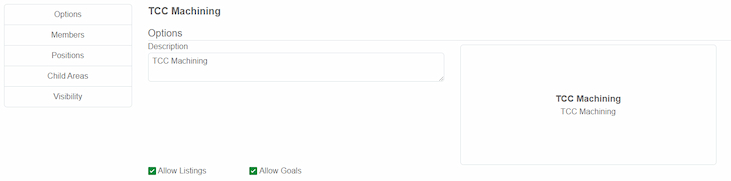
To assign a user to an area, navigate to the main page of the application, click manage, areas, and then select your plant. Select the area you wish to assign a user to. You will be shown the area management page.
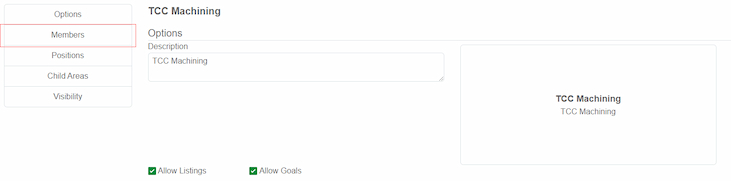
Click the Members button on the left navigation menu
Here various members can be added based on their type.
| Type | Who is this for | Permissions |
|---|---|---|
| PartTimeEmployee | Part Time Employees | Able to book, and cancel bookings. |
| FullTimeEmployee | Full Time Employees | Able to book and cancel bookings, and view production goals. |
| TL | Team Leaders | Able to create and cancel listings. |
| Admin | Production Leader, Segment Leader, and Administrators | Management of area. Can create / cancel listings. Also has the ability to manage production goals for their areas. |
Click the add member button to add a new user to the desired area. A menu will open.
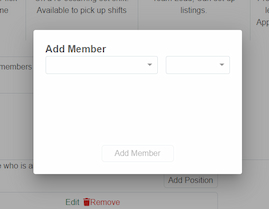
| Field | Notes |
|---|---|
| User | This is the user to add to the area. This user MUST already be initialized to add it to an area |
| Permission level | This is the permission level of the user |
Click the “Add Member” button when done and the user will be added to the area.
Next Steps
Learn to create a position for an area next!